Impressabilities are thin metal templates for embossing, debossing, letterpressing or stenciling.
These templates measure 5 3/4" x 4 1/2" to cover an A2 (5 1/2" x 4 1/4") card.
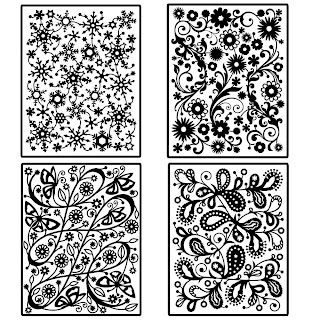
Currently there are 4 patterns available for Impressabilities and they are:
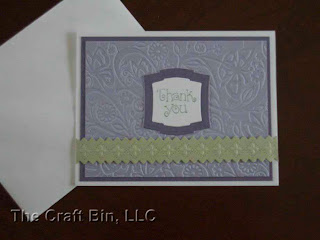
Today I will show you how to emboss using Impressabilities Template to make this 4.25" x 5.5" card.
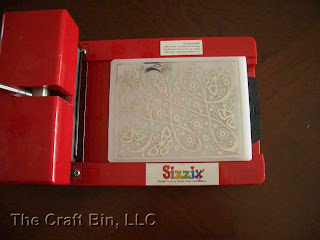
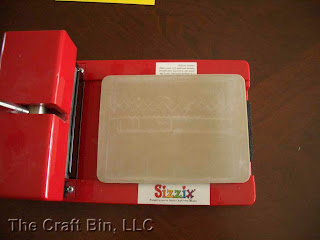
In the step by step demonstration, I will be using Original Sizzix Press.
But, don't worry, I will list out the sandwich recipe for other machine at the bottom of this blog.
 Step 1
To create a sandwich for Original Sizzix Press, place
Impressabilities Butterfly Template on Sizzix cutting pad.
Tip: Make sure your cutting pad has never been cut before. Otherwise, cut marks will etch themselves into embossing details.
I actually have 2 cutting pads. One is for cutting and the other one for embossing.
 Step 2
Add
Chatterbox Light Violet Bazzill Cardstock on top of the template.
 Step 3
Place
Tan Embossing Mat on top of the cardstock.
 Step 4
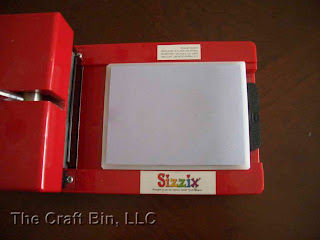
Add paper shim on top of
Tan Embossing Mat .
Tip: To make a paper shim, use a 12 x 5 piece of paper and fold in half to use as a shim.
Run the sandwich through Original Sizzix Press. You may have to run it through a couple of time for thick cardstock.
 Step 5
Next I create a strip of border with
Pierceabilities Pinking Border Die.
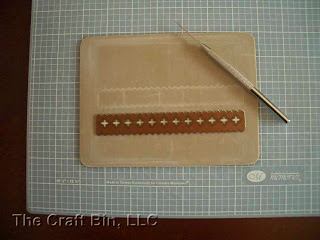
To cut the border, first place
Chatterbox Light Spruce Bazzill Cardstock on cutting pat.
Place die on top of paper with cutting ridge side down. I use a couple of small pieces of tape to hold the die in place.
Place the
Spellbinders White Spacer Plate on top of Die and run the sandwich through the machine.
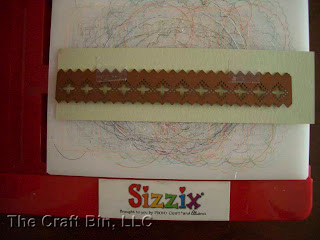
 Step 6
Turn the die around and line up the die with cut edge of paper.
Use a couple of short pieces of tape to hold die in place.
Place the
Spellbinders White Spacer Plate on top of Die and run the sandwich through the machine again.
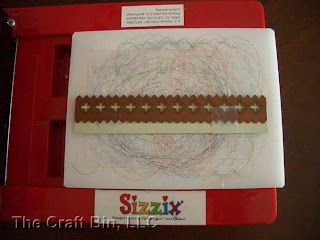
 Step 7
If you turn the paper cut, this is how it looks now.
With the cutting ridge facing up, place Tan Embossing Mat on top of paper die and run it through the machine.
 Step 8
Next step is piercing. To add more depth to the holes, you can use Tan Embossing Mat. Make sure you place another mat underneath of
Tan Embossing Mat to protect your furniture.
Tips: Hold Pierceability die firmly in place during pricking.
Hold the piercing tool as vertical as possible to prick holes nice and round.
Try and price to the same depth so that the diameter of the holes will be equal.
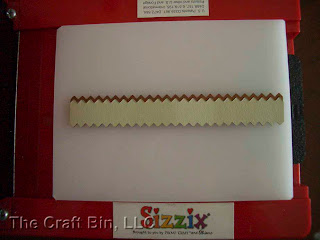
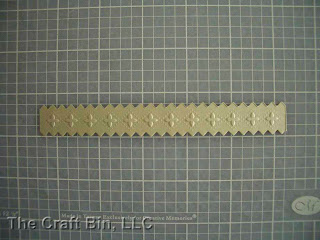 Step 9
This is how the border looks like after piercing is complete.
Stamp Thank You on a white cardstock.
Use the smallest die from
Spellbinders Label Two set to cut the white cardstock.
Use the second smallest die from
Spellbinders Label Two set to cut
Chatterbox Dark Violet Solid Cardstock.
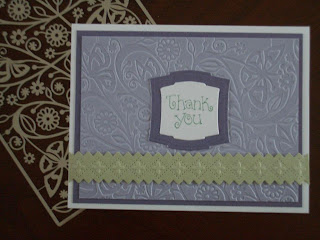 Step 10
Assemble the card.
SuppliesDie Sets
-
Impressabilities - Butterfly-
Pierceabilities - 5 1/2" Pinking Border-
Nestabilities - Label TwoCardstock and Paper
-
Chatterbox Light Violet Bazzill Cardstock-
Chatterbox Dark Violet Solid Cardstock-
Chatterbox Light Spruce Bazzill CarstockStamp(s) & Ink
- Thank You stamp from Stampin Up
- Garden Green ink from Stampin Up
Tools:
-
Wizard by Spellbinders or other die cut systems that are
compatible with Spellbinders Dies.
- Paper trimmer
- Scissor
- Tapes
- Piercing Tool
Embossing Sandwich for Spellbinders Wizard(stack from bottom up)
1. Place first
White Mat.
2. Use a 12 x 5 piece of paper and fold in half to use as a shim. Add paper shim on top of White Mat.
3. Place
Tan Embossing Mat on top of paper shim.
4. Paper or cardstock of your choice.
5. Place Impressabilities Template on top of paper or cardstock.
6. Place second
White Mat on top of Impressabilities Template.
7. Run through
Wizard Machine.
Embossing Sandwich for Big Kick by Sizzix(stack from bottom up)
1. Place large platform down first with all tabs closed.
2. Place Impressabilities Template.
3. Paper or cardstock of your choice.
4. Place TWO
Tan Embossing Mats on top of paper or cardstock.
5. Use a 12 x 5 piece of paper and fold in half to use as a shim. Add paper shim on top of Tan Embossing Mats.
6. Place ONE Big Kick acrylic plate on top.
7. Run thru the Big Kick machine.
Embossing Sandwich for CuttleBug by Provocraft(stack from bottom up)
1. A Plate.
2. Impressabilities Template.
3. Paper or cardstock of your choice.
4. Use 2 or 3 pieces of cardstock to shim.
Cautionary Note: Using more than 3 pieces of cardstock to shim Cuttlebug Embossing sandwich will result in B Plate breakage.
5. Place two acrylic B Plates on top of sandwich.
6. Run thru Cuttlebug machine.
Embossing Sandwich for Big Shot (Black & Pink) by Ellison-Sizzix(stack from bottom up)
1. Place large platform down first with all tabs closed.
2. Place Impressabilities Template.
3. Paper or cardstock of your choice.
4. Place TWO
Tan Embossing Mats on top of paper or cardstock.
5. Use a 12 x 5 piece of paper and fold in half to use as a shim. Add paper shim on top of Tan Embossing Mats.
6. Place ONE Big Shot acrylic plate on top.
7. Run thru the Big Shot machine.
Embossing Sandwich for Revolution by QuicKutz1. Place Impressabilities Template onto Revolution platform.
2. Place paper or cardstock of your choice.
3. Place
Tan Embossing Mat on top of paper or cardstock.
4. Place acrylic embossing mat on top of Tan Embossing mat.
5. Run thru Resvolution matchine.


